What Are Solutions in Biology: Definitions, Clues & Examples
Understand what are solutions in biology: clear definitions, visible clues, and practical checks to verify samples before you act on a photo or quick read.
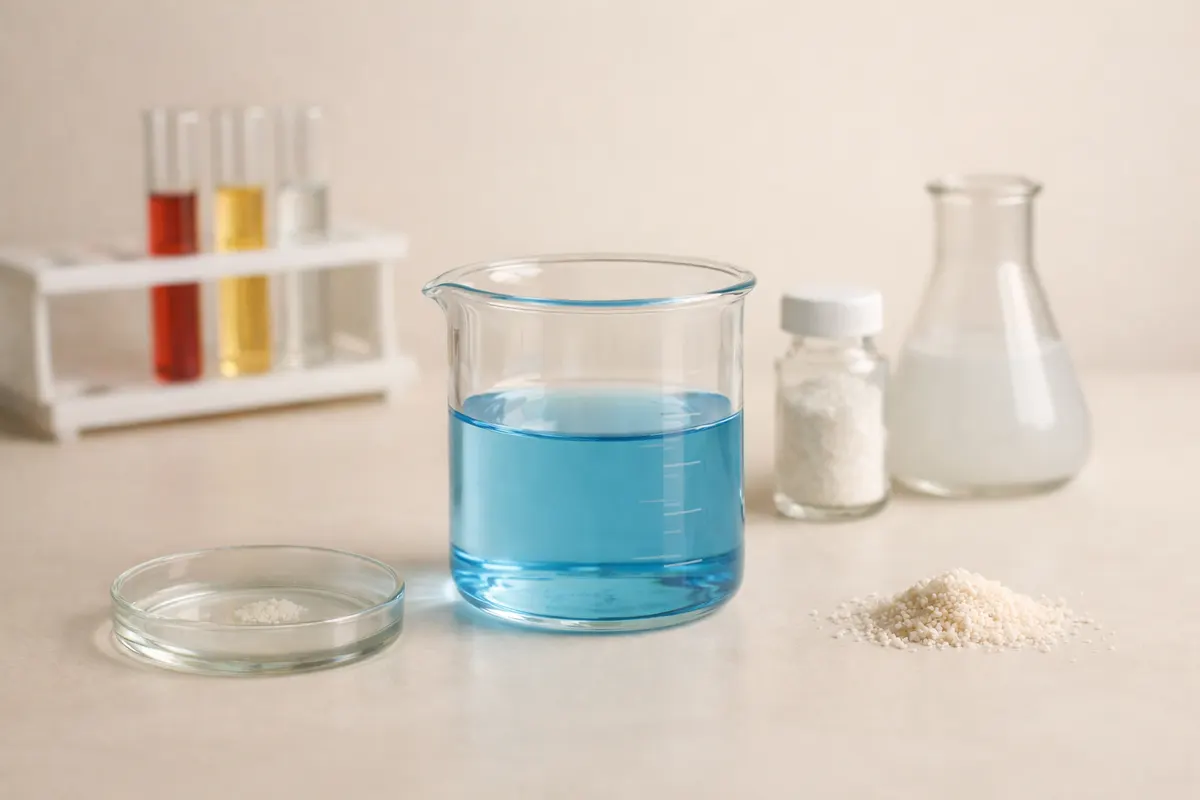
Quick answer: what are solutions in biology?
In biology, a solution is a homogeneous mixture where one or more solutes (dissolved substances) are uniformly dispersed in a solvent, usually water. Biological solutions range from simple saltwater to complex mixtures such as blood plasma or culture media where hundreds of molecules dissolve and interact.
What makes these mixtures relevant in biology is how dissolved solutes affect cells and reactions: osmotic balance, pH, ionic strength, and nutrient availability are all governed by solution composition. When someone asks 'what are solutions in biology' they usually want both the definition and everyday examples like saline, buffers, enzyme reaction mixes, or intracellular fluids.
For quick practical use, remember: the solvent is most often water in biological contexts, solutes can be ions, sugars, proteins, or gases, and key functional properties include concentration, pH, and whether the mixture is sterile or contains suspended particles.
- Definition: a homogeneous mixture of solute(s) dissolved in a solvent (commonly water).
- Functional traits: concentration, pH, ionic strength, and sterility affect biological outcomes.
- Common biological examples: saline, blood plasma, buffer solutions, culture media.
What it means when scientists call something a biological solution
Calling a sample a 'solution' signals both chemistry and biological function. Chemically, it means the sample is a single-phase mixture at the scale of interest—no visible particles or separate layers. Biologically, calling something a solution implies it interacts predictably with cells and molecules: it can transport solutes across membranes, stabilize proteins, or provide nutrients for growth.
Solutions are also used as controlled experimental conditions. For example, a buffer solution keeps pH steady during an enzyme assay, while saline matches the osmolarity of body fluids for safe cell handling. These functional roles are what differentiate a random liquid from a biologically meaningful solution.
Understanding the term helps when reading protocols or interpreting photos: a container labeled 'buffer' or '1× PBS' tells you more about expected pH and salt content than a plain bottle of 'liquid'. That matters for experimental design, medical use, and safety decisions.
- Chemical meaning: single-phase mixture with dissolved molecules, no visible suspension.
- Biological meaning: chosen to control pH, osmolarity, nutrient supply, or reaction conditions.
- Practical cue: lab labels (e.g., 'Tris buffer', '0.9% NaCl') convey function and approximate composition.
Key clues to identify biological solutions visually and contextually
A photograph can give several useful clues about whether a sample is a solution, but the camera only captures surface evidence. Clear, single-phase appearance is the first clue: most true solutions look uniform with no settled particles or visible phase separation. Transparent or uniformly colored liquids (for example, clear saline vs. pink-stained buffer) usually indicate dissolved solutes rather than suspensions.
Contextual labels and packaging are often the best early indicators: sterile, labeled tubes, product names (e.g., 'buffer', 'culture medium', '0.9% NaCl'), or manufacturer's vials strongly suggest a prepared solution. In contrast, improvised containers (cups, jars) or unlabelled liquids increase uncertainty and risk.
Other visual signs that matter include bubbles or foaming (may indicate detergents or agitation), opalescence (possible colloids or proteins), and presence of cells or debris under microscopy. Combining visual cues with context—labels, storage conditions, and the environment where the sample was found—gives a higher-confidence read than photos alone.
- Uniform clarity and consistent color suggest a dissolved solution rather than a suspension.
- Labels, sterile packaging, and factory vials are strong contextual evidence of a prepared biological solution.
- Opalescence, visible particles, or layering point to suspensions, emulsions, or contaminated samples.
- Microscopy or simple tests (pH strip, conductivity) provide confirmatory evidence beyond a photo.
Step-by-step workflow
Step 1 — Observe and document: photograph the container from multiple angles, note labels, lot numbers, and storage conditions (refrigerated, ambient, frozen). Record any markings or expiry dates. Good documentation reduces later ambiguity and helps any expert you consult.
Step 2 — Simple non-destructive checks: use pH strips, conductivity meters, or refractometers when available to check expected properties (for saline, pH around 7 and conductivity consistent with ~0.9% NaCl). Smell or taste should never be used for biological samples. If sterility matters, treat the item as potentially contaminated until verified.
Step 3 — Microscopy and dilution tests: a quick wet-mount slide can reveal cells or particulates that a photo missed. A serial dilution followed by visible clarity checks or turbidity measurements helps distinguish dissolved solutes from suspensions. For protein-rich solutions, small-scale centrifugation often pellets particulate contaminants.
Step 4 — Chemical or lab tests: when accurate concentration matters, run titrations, spectrophotometry, or send a sample to a laboratory for analysis. For biological safety or regulatory uses (medical devices, injections), only certified testing and manufacturer information are reliable.
Step 5 — Decide action and safety: use the app or expert help as a first pass to prioritize next steps—benign lab reagent verification differs from clinical or environmental decisions that require certified testing or a professional's input.
- Photograph, label, and timestamp the sample before handling.
- Use pH strips, conductivity, or refractometry for quick checks; avoid taste or smell.
- Run microscopy or simple centrifugation to detect suspended particles.
- For concentration or safety-critical uses, rely on lab assays or manufacturer data.
Examples of biological solutions and how they differ
Saline (0.9% NaCl): A simple, widely used biological solution that matches the osmotic strength of blood plasma for many clinical and lab purposes. It is clear, ionic, and typically sterile when prepared for medical use. Visual clues: clear, labeled IV bags or sterile vials often indicate saline.
Buffer solutions (e.g., PBS, Tris): Buffers maintain pH for biochemical reactions. They look clear but their function is inferred from labels and context; a picture of a labeled bottle of '1× PBS' conveys more than clarity alone. Buffer strength and composition determine compatibility with cells or enzymes.
Blood plasma and serum: These are complex biological solutions with dissolved proteins, salts, and metabolites. Plasma often appears pale yellow and slightly opalescent due to proteins; visible cells separate upon centrifugation. Neither plasma nor serum is sterile by default and both require proper handling.
Culture media and reaction mixes: From agar-free liquid media to PCR reaction mixes, these solutions can contain sugars, salts, amino acids, and enzymes. Some are clear, some colored by indicators; many require sterile technique. A photo of a labeled culture bottle or tube plus incubation context (incubator rack, sterile hood) helps identify them correctly.
DNA extraction buffers and enzyme mixes: These are specialized solutions with precise formulations. They are usually sold in labeled laboratory packaging; small reagent tubes with printed labels and barcodes are a strong clue that a tube contains an intended solution rather than an unknown liquid.
- Saline: clear, ionic, used for hydration and clinical rinses; concentration matters (0.9% vs other strengths).
- Buffers: maintain pH for reactions; label and concentration determine use with cells or enzymes.
- Plasma/serum: complex mixtures of proteins and metabolites; may appear slightly colored or opalescent.
- Culture media: support microbial or cell growth; look for sterile packaging and expiry dates.
Limitations: what a photo cannot tell you about a biological solution
Photos are useful but limited. A picture cannot reliably measure concentration (molarity), verify sterility, or reveal toxic contaminants. Two bottles can look identical while differing markedly in pH, salt concentration, or presence of preservatives. Never assume safety or suitability for biological use from appearance alone.
Confidence tiers help: high confidence when a sealed, labeled, factory vial matches expected appearance and documentation; partial confidence when labels are handwritten or containers are reused; low confidence when the sample is unlabelled, in improvised containers, or found in an uncontrolled environment. Treat low-confidence items as potentially hazardous.
When consequences matter—medical administration, experimental cell culture, or environmental release—you need laboratory verification or manufacturer documentation. The BiologyAI app and similar tools are useful first passes for visual triage, but they are not replacements for certified testing, clinical judgment, or regulatory approvals.
- Photos cannot measure concentration, sterility, or trace contaminants.
- Labeling and provenance separate high-confidence from uncertain samples.
- For medical or regulatory decisions, rely on lab assays and professional verification.
Related guides
Act faster on visual clues with BiologyAI
Use the BiologyAI app as a fast first pass to interpret visual evidence and prioritize next steps: capture multiple photos, check labels, and compare likely matches. BiologyAI helps you triage samples and decide whether simple checks (pH strips, microscopy) or formal lab tests are needed. Always confirm safety- or health-critical decisions with certified testing or a qualified professional.


Frequently asked questions
Is blood a solution?
Blood is a complex mixture that contains both a solution and suspended components. Plasma (the liquid portion) is a true solution of salts, proteins, and metabolites dissolved in water. Whole blood also contains suspended cells (red and white blood cells, platelets), so it behaves as a colloidal suspension plus a dissolved component. Photographs can suggest plasma color but cannot determine composition or sterility.
How can I tell a solution from a suspension in the field?
Look for uniform clarity and the absence of settled particles as initial clues: solutions are homogeneous and usually clear or uniformly colored, while suspensions show visible particulates or layers after sitting. A quick wet-mount under a microscope or simple centrifugation will reveal suspended particles. If neither is available, packaging, labels, and storage conditions provide important contextual evidence.
Can a photo identify the concentration of a biological solution?
No. A photo can indicate whether a liquid is clear or colored but cannot quantify solute concentration accurately. Certain concentration extremes (very concentrated colored solutions) might be suggested visually, but precise molarity, osmolarity, or percent concentrations require instruments such as spectrophotometers, refractometers, titrations, or laboratory assays.
When should I seek laboratory testing instead of relying on a visual check?
Seek lab testing whenever the decision affects safety, health, regulatory compliance, or experimental validity—e.g., injections, clinical assays, sterile culture work, or environmental release. Use visual checks and app-based triage to prioritize samples for testing, but follow up with certified assays, manufacturer certificates of analysis, or professional consultation before taking action.